How do I use the integration between Refapp and SmartRecruiters?
In SmartRecruiters, you can start a reference check in two ways: through the Assessments panel on the candidate's page or via the Job process stages. This article focuses on how to use the integrations through Assessments.
There are two ways to start a reference check from SmartRecruiters - via the Assessments panel on the candidate page or via job process stages.
Starting a Refapp reference check from the candidate page
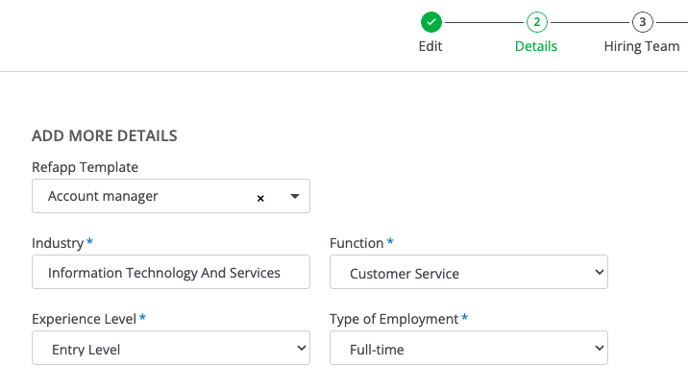
Start by adding a Refapp Template to your job in the job editor under Details.

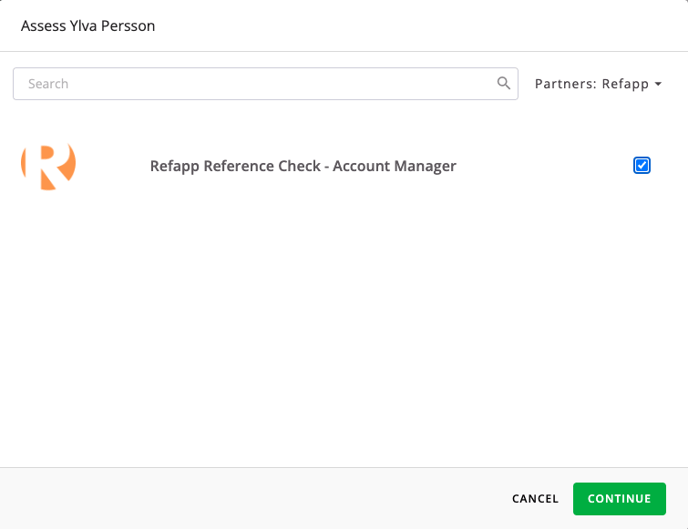
To start a reference check, go into the candidate view and select Order Assessments under Assessments on the right-hand side.

Select one item from the list and click Continue and then Send.

When you click send, a project will automatically be created in Refapp, and the candidate gets added to the project. If your project template has automation turned on, an email and/or SMS has been sent to the candidate requesting them to submit their referees.
Under Assessments, a status field will now appear inside SmartRecruiters, where you can follow the status of the reference check. The black paperclip symbol will also lead you to the candidate in Refapp.

When starting the reference checking this way, emails and SMS messages from Refapp to the candidate and referees are the recruiter in SmartRecruiters that clicks “Send”.
The entire hiring team for the job in SmartRecruiters will be added as project members in Refapp, and if any hiring team members are not yet added to Refapp, they will be invited to set up their personal accounts.
You can follow the candidate's reference checking in SmartRecruiters, and when all referees are marked as ready, the status is updated. An additional paperclip will appear with a link to the completed reference report.

Choose the paperclip at the bottom to get to the shared reference report!
