Adding Cost Centres to your account
An administrator can turn this function on by pressing the toggle Show Cost Centre Features in Company Settings under General.
Start by pressing your profile in the right corner and go into Users. In the list, there is now a new category called Cost centre. When no cost centre is selected, the text reads Specify...
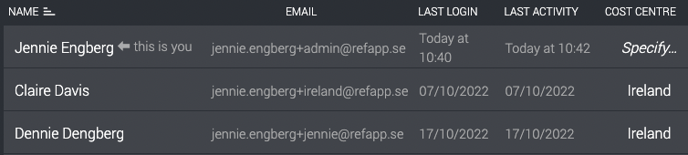
To add a cost centre, press Specify... and add your cost centre in the box that appears. You can write what suits your company best and be as specific as you want. For example, if you want to write countries, invoice codes or addresses to the different offices.
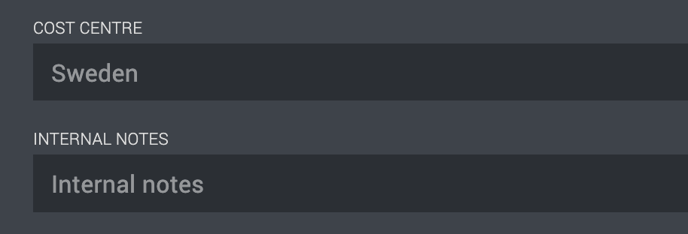
You can also add or change the cost centre for a specific project. At the end of the project settings, a box will either show an existing cost centre or be empty, depending if the user creating the project has been sorted to a cost centre. You can change the cost centre to anything or add a new one if the box is empty.
Cost centre statistics
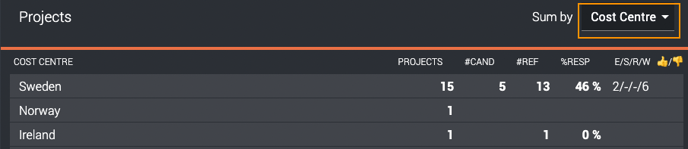
To access the statistics and sort by cost centre, go into Project statistics. In the drop-down box, you can select Cost Centre to see how many projects have been created per cost centre.
Cost centre when using an ATS system
If you have the cost centre function turned on for your account and work within an ATS system, a new field will now be available when setting up the settings for the reference check with Refapp in your ATS. The field will allow you to add a cost centre, and when the project is created in Refapp, the project will be sorted into the cost centre you filled in.
For more information on how this works in your specific ATS system, contact Refapp support or your Customer Success Manager.