Enabling the integration
- Ensure you are logged in to Refapp as a Refapp Administrator.
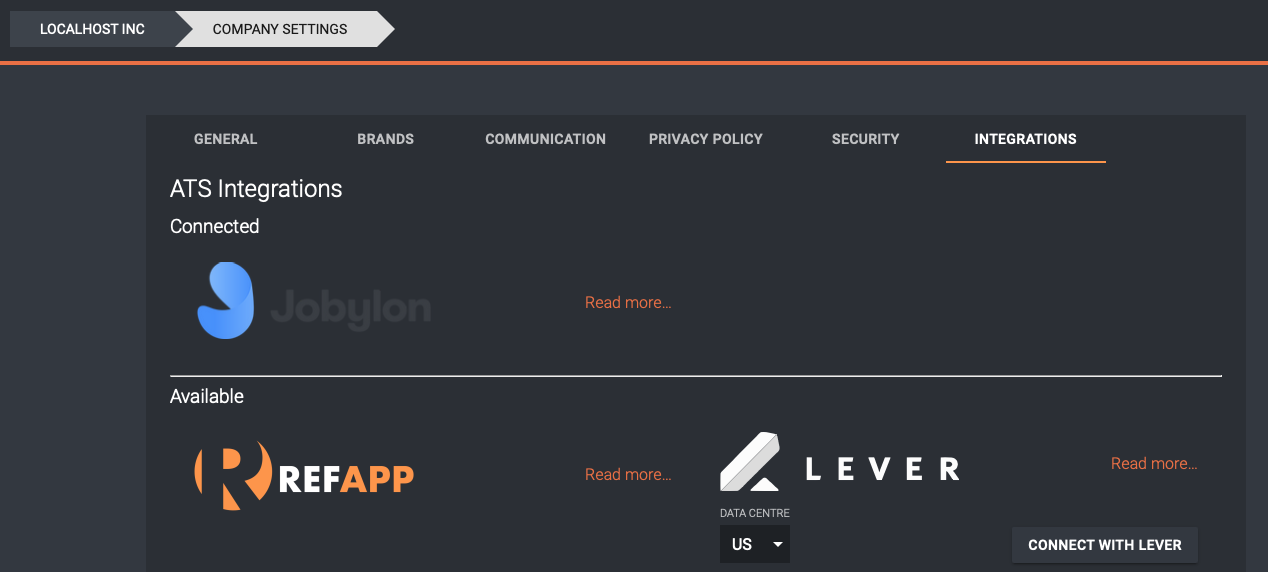
- Go to the Company Settings page
- Open the Integrations tab and locate the Lever logo. If you are running Lever in the EU data centre, you need first to select EU from the Data Centre list and click Save. Next, click Connect with Lever.
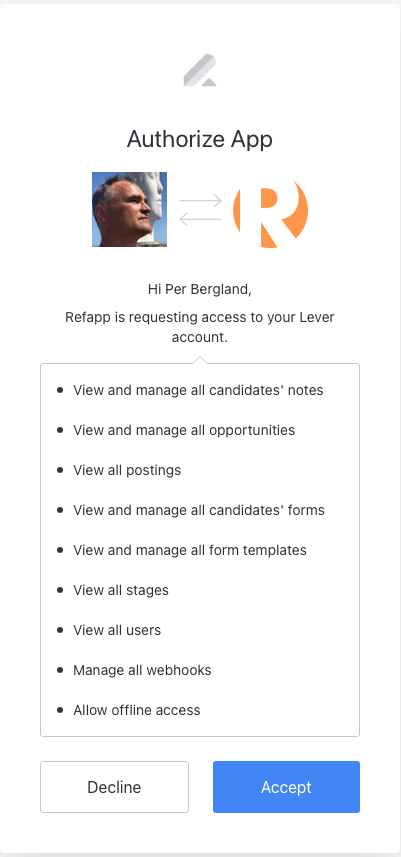
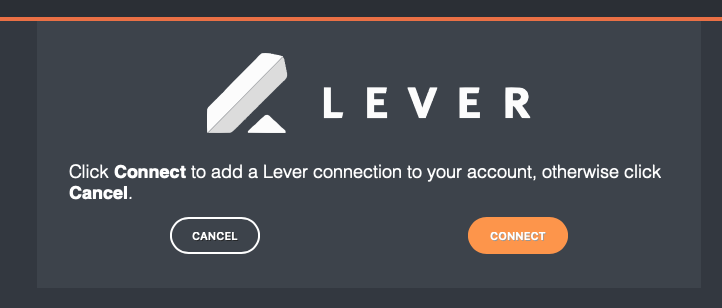
5. You are now taken back to Refapp. Click Connect to finalise the connection and go back to the Company Settings page.
Configuration
6. In Refapp: Select the Lever recruitment stage that should trigger a reference check in Refapp.
Click Configure below the Lever logo, select the stage from the dropdown and click OK followed by Save in the bottom of the Company Settings page. If you don’t have a reference check stage, contact Lever support and they will assist you in getting one added.


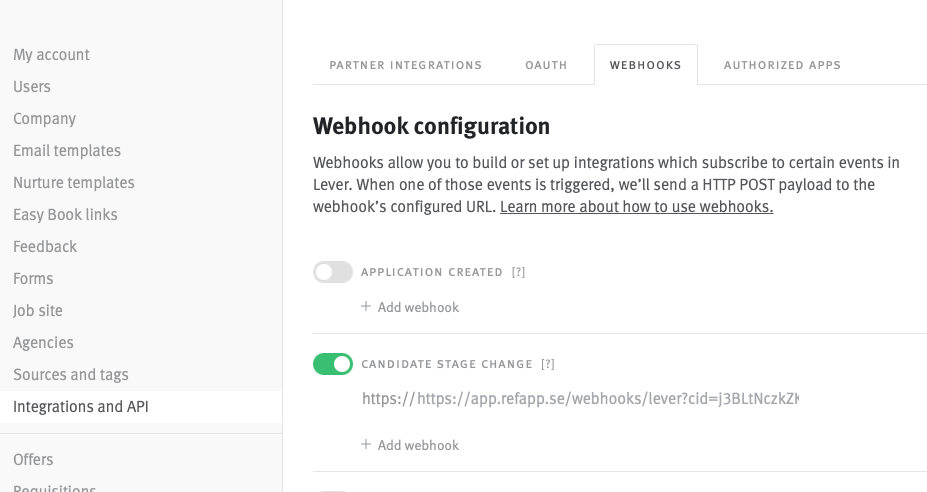
7. Ensure that candidate stage change webhooks are enabled in Lever (this is disabled by default).
8. Now you are all set and anyone in your team can run Refapp reference checks from within Lever.
Working with Refapp reference checks in Lever
Any time a candidate reaches the Lever stage that was configured in the setup, the candidate is added to Refapp in a project that corresponds to the Lever Job Posting that the candidate is considered for.
To get the most value out of the integration, you need to work with Refapp project templates and select the appropriate template for the position via Lever Tags.
Here’s how it works:
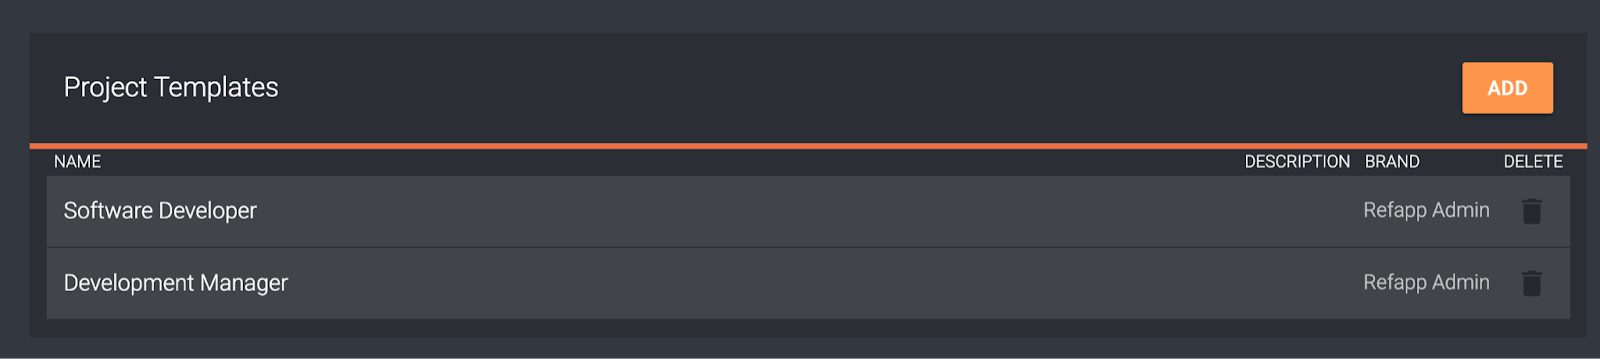
Set up Refapp Project Templates
Start by adding project templates corresponding to your typical hiring types. This includes which questions to ask, automation options etc. More information can be found in this help centre article:
Whenever you have modified the list of templates (added, removed or renamed), you need to synchronise with Lever by opening Company Settings + Integrations + Lever Configure and clicking Synchronise. Click OK followed by Save at the bottom of the Company Settings page. This step ensures that the tags shown in Lever for settings correspond to your current project template list.

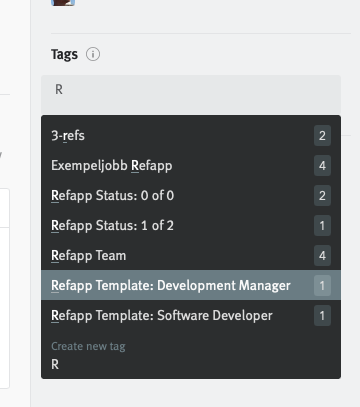
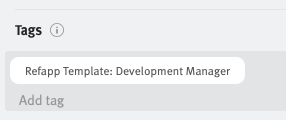
Select the setting (project template) via Lever Tags
In the settings when you set up or edit a Job in Lever, type an R in the Tags field and select from the tags starting with Refapp Template.
Now, when a candidate reaches the Reference Check stage (or whichever stage you configured to start the reference checking), the candidate is created in Refapp and both a Note and a Tag is added to the candidate in Lever to display the progress:
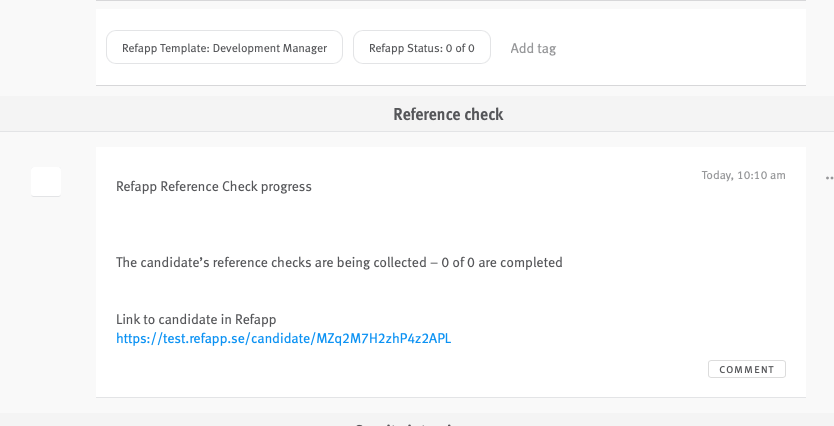
As the reference check proceeds and is finally completed, the note and tag (Refapp Status: XXX) for the candidate in Lever will update accordingly and you can easily jump into Refapp to view the report and/or the Refapp candidate page via links in the note:

Disabling the Refapp integration
- Navigate to Settings > Integrations and API > Authorized Apps
- Locate the Refapp app
- Click Revoke Access
Important notes
- The candidate language for candidates in Refapp will always be set to your account default language since there is no setting for language on candidate level in Lever, so ensure your project templates always include a questionnaire for the default language. If you need to change the language, you can edit the candidate language in Refapp at any time.
- The project in Refapp will be accessible to the Lever user that moved the candidate to the Reference Check stage, the Posting owner (shown in the Job Postings card) and the Hiring manager. Users will be invited automatically to Refapp if they haven’t yet set up their account.