A project template can include:
- Default questionnaires
- Candidate and referee messages
- Automation settings
- Verification settings
- Other project configuration options
Templates do not include candidates or completed reference checks.
How to create a new project template
Only administrators, subaccount administrators, and users with extended permissions can create and manage project templates.
-
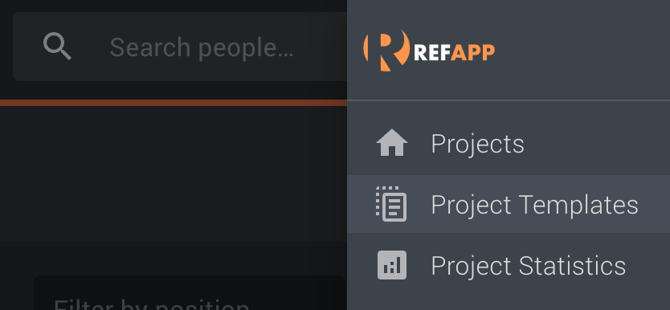
Click Project Templates in the drop-down menu under your Refapp profile.
-
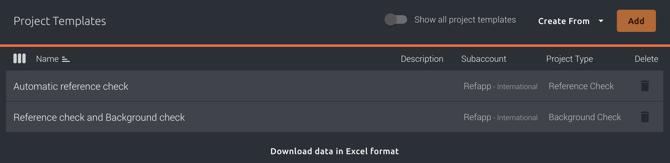
Click Add.
-
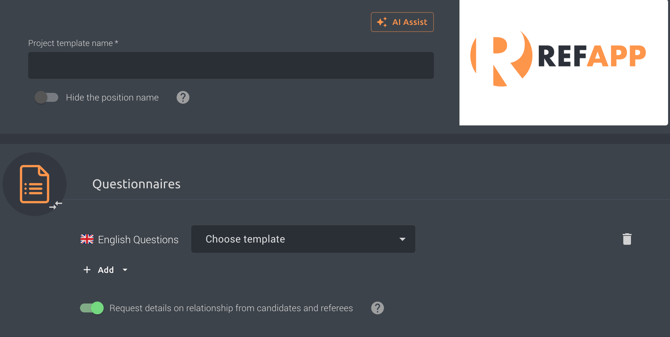
Name your template: Choose a descriptive name (e.g., "Standard Recruitment" or "Technical Roles"). Note: This is internal and distinct from specific project titles.
-
Configure Settings: Select the subaccount, questionnaires, and automation preferences (such as automatic contact requests or verification options).
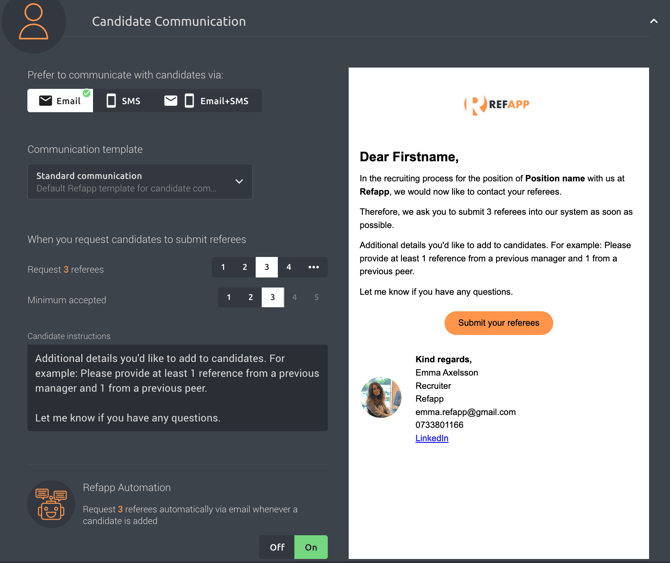
- Configure default messages: Add any default messages you wish to send to candidates or references.
-
Click Create.
What does Refapp Automation mean?
When enabled, Refapp automatically emails candidates to request their referees as soon as they are added to the project. No manual action is required.
The project template is now available for users with access to the selected subaccount to use when creating new reference checking projects.
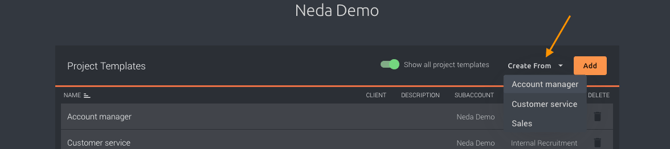
How to Copy a Project Template
To copy a project template, you need to have administrator access to the subaccount from which you want to copy the project template.
- Ensure that you are logged in with an administrator account that has access to the subaccounts you want to work with.
- Open Project Templates from the profile menu. Click Create From to select an existing template that you want to copy from the list of existing project templates.
- You will now be presented with all the settings for the project template.
Important: If you want to save the copied template to a different subaccount, remember to change the chosen Subaccount.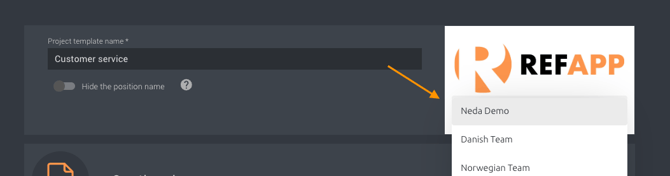
How to use a template when creating a new project
Project templates make it easy to create new reference check projects with predefined settings. Instead of configuring every project from scratch, you can start with a template and customize it as needed.
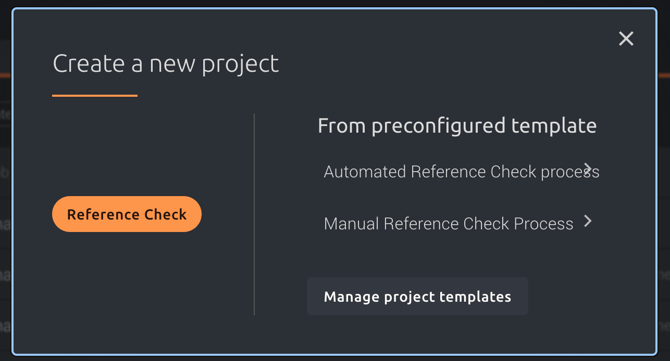
When creating a new reference check project, choose one of the following options:
- Create from scratch, the option to the left.
- Create from a project template, the option to the right.
Select the option that best fits your recruitment process.
Customize your project
After selecting a template, you'll be taken to the project settings for your new reference check project.
- Enter a project title (for example, the job title or recruitment name).
- Review the project settings that have been preconfigured by the selected template.
- Make any adjustments needed for this specific recruitment.
The template provides a starting point, but you can customize the project before creating it.
When you're ready, click Create.
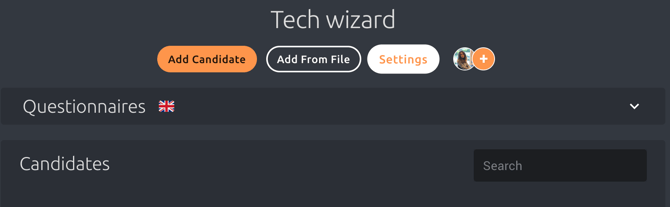
You'll be taken directly to the new project, where you can add candidates and begin the reference checking process.
Edit project settings after creation
You can update the settings of an individual project at any time.
- Open the project.
- Click Settings.
- Make the changes you need and save.
Important: Editing a project's settings does not update the original project template. Any changes only apply to that individual project.