Need to configure another SSO type for your company? Click on the name of the SSO type to be redirected to the guide.
- Configuring Entra/Azure AD for Refapp SSO
- Advanced settings and configuration for other providers
**You can click here for a guide covering everything within SSO.**
Configuring Microsoft Active Directory Federation Services for Refapp SSO
- Open the Refapp Company Setting page.
- Specify your wanted SAML Identity ID (or leave it blank) and save the settings.
- Click the “Download SAML Service Provider Metadata” button.
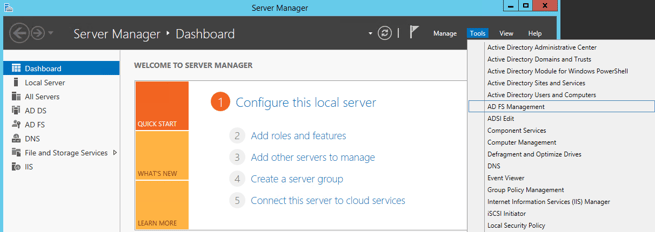
- Open the ADFS management console. This can be done from Server Manager as shown below:
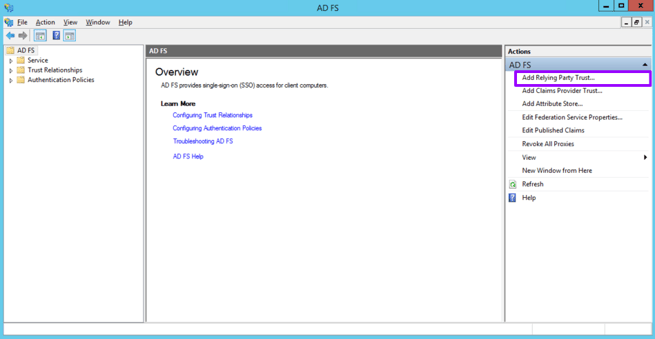
- Click the button on the right for Add a Relying Party Trust.
- This opens a wizard for the trust with a welcome screen describing the feature. Review the description and click Start to begin.
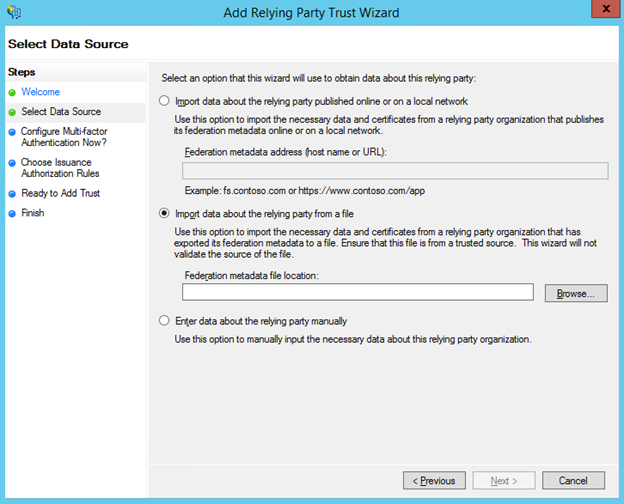
- Import the SAML Provider Metadata file you downloaded previously.
- Provide a display name for the Trust, “Refapp” or something similar is recommended and click Next.
- Finish the rest of the steps.
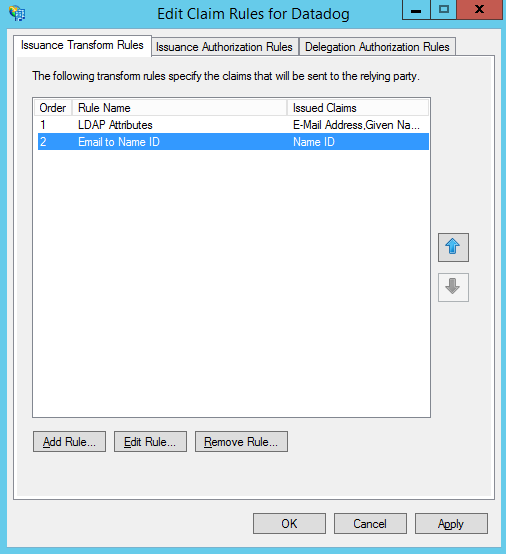
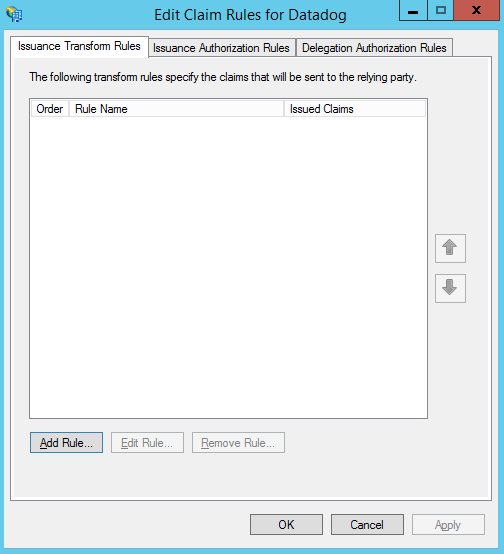
- We recommend two Claim Rules for brokering the SAML assertions. They can be added by first clicking the Add Rule button.
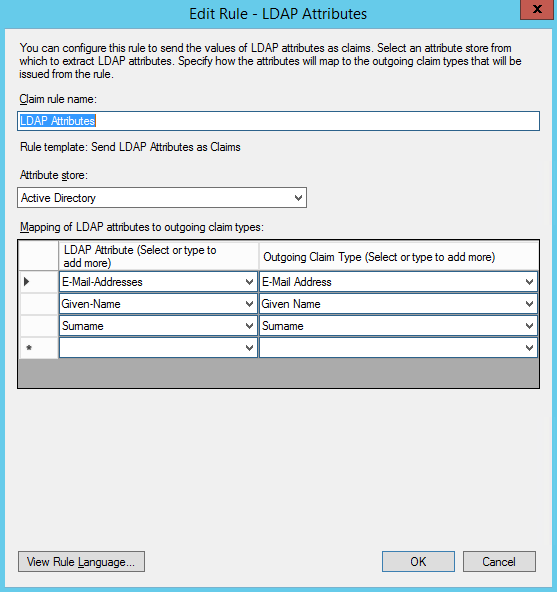
- This first rule is an LDAP Attributes rule that ensures the required information is passed between the two systems. Configure the rule as shown below and click OK to save. (Make sure to use three separate fields for “E-Mail-Addresses, Given-Name, and Surname” or else some relevant info may be left as “None” later on.)
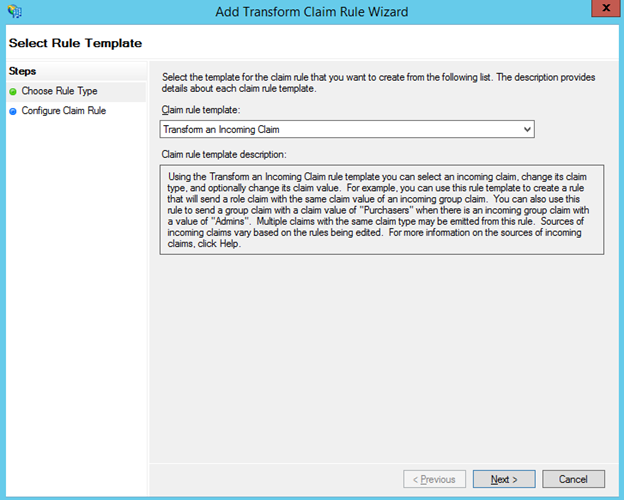
- The second rule is a Transform rule. Refapp specifies urn:oasis:names:tc:SAML:1.1:nameid-format:emailAddress for the Format of the NameIDPolicy in Assertion Requests where ADFS natively expects these in Name ID format so we need to transform the format from email to Name ID. Select Transform an Incoming Claim from the drop-down and click Next to continue.
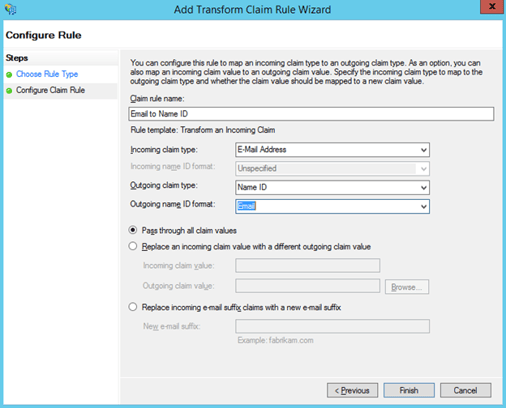
- Input the configuration as shown below and click Finish.
- Save the new claim rules by clicking OK.
Save the new claim rules by clicking OK.