There are two different ways to work with reference checking with Refapp.
1. Working with jobs as projects, where you set up the settings for a specific job in Jobadder, and all candidates belong to the same job.
2. Starting the process directly on the candidate in Jobadder, regardless of whether they belong to a job or not. This needs some extra configuration when setting up the integration. See this guide on how the configuration works.
Follow the guides below for the different ways of working with reference checks.
Reference checks on candidates.
Reference checks in jobs
For each job in JobAdder where you want to run Refapp reference checks, you need to first configure a matching project in Refapp.
Select “Refapp – Configure Refapp Project“ from the Actions menu for Jobs. This menu can be found directly in the job list and when opening a job from the jobs list.
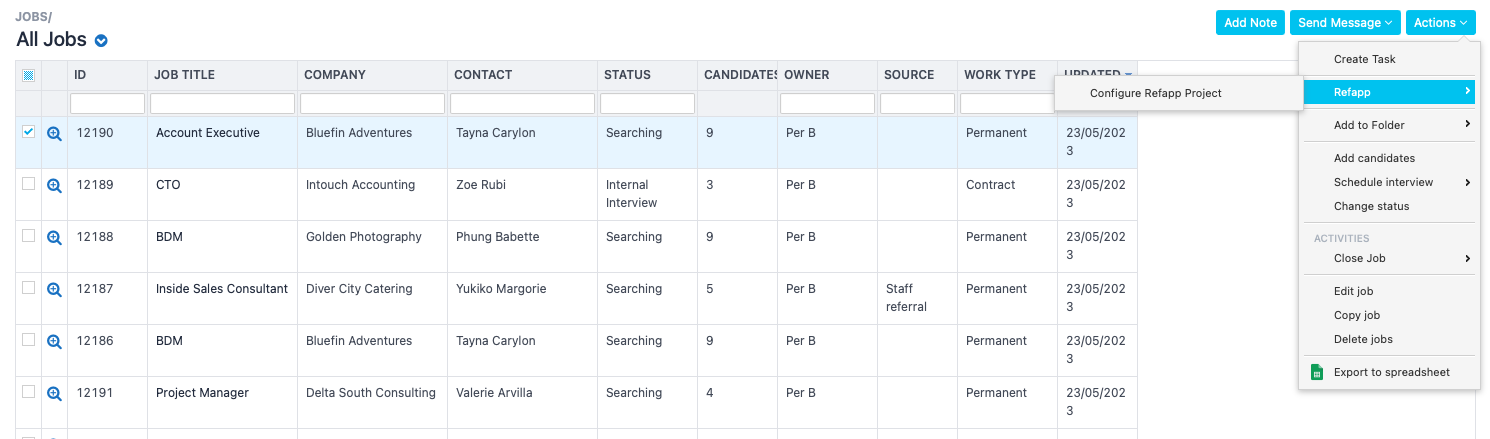
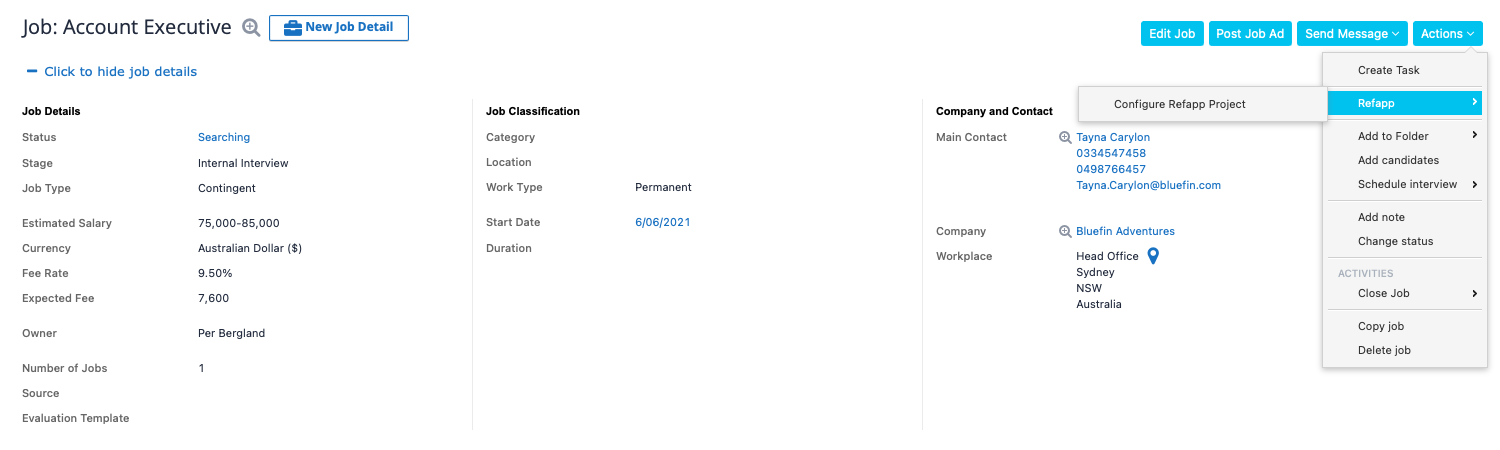
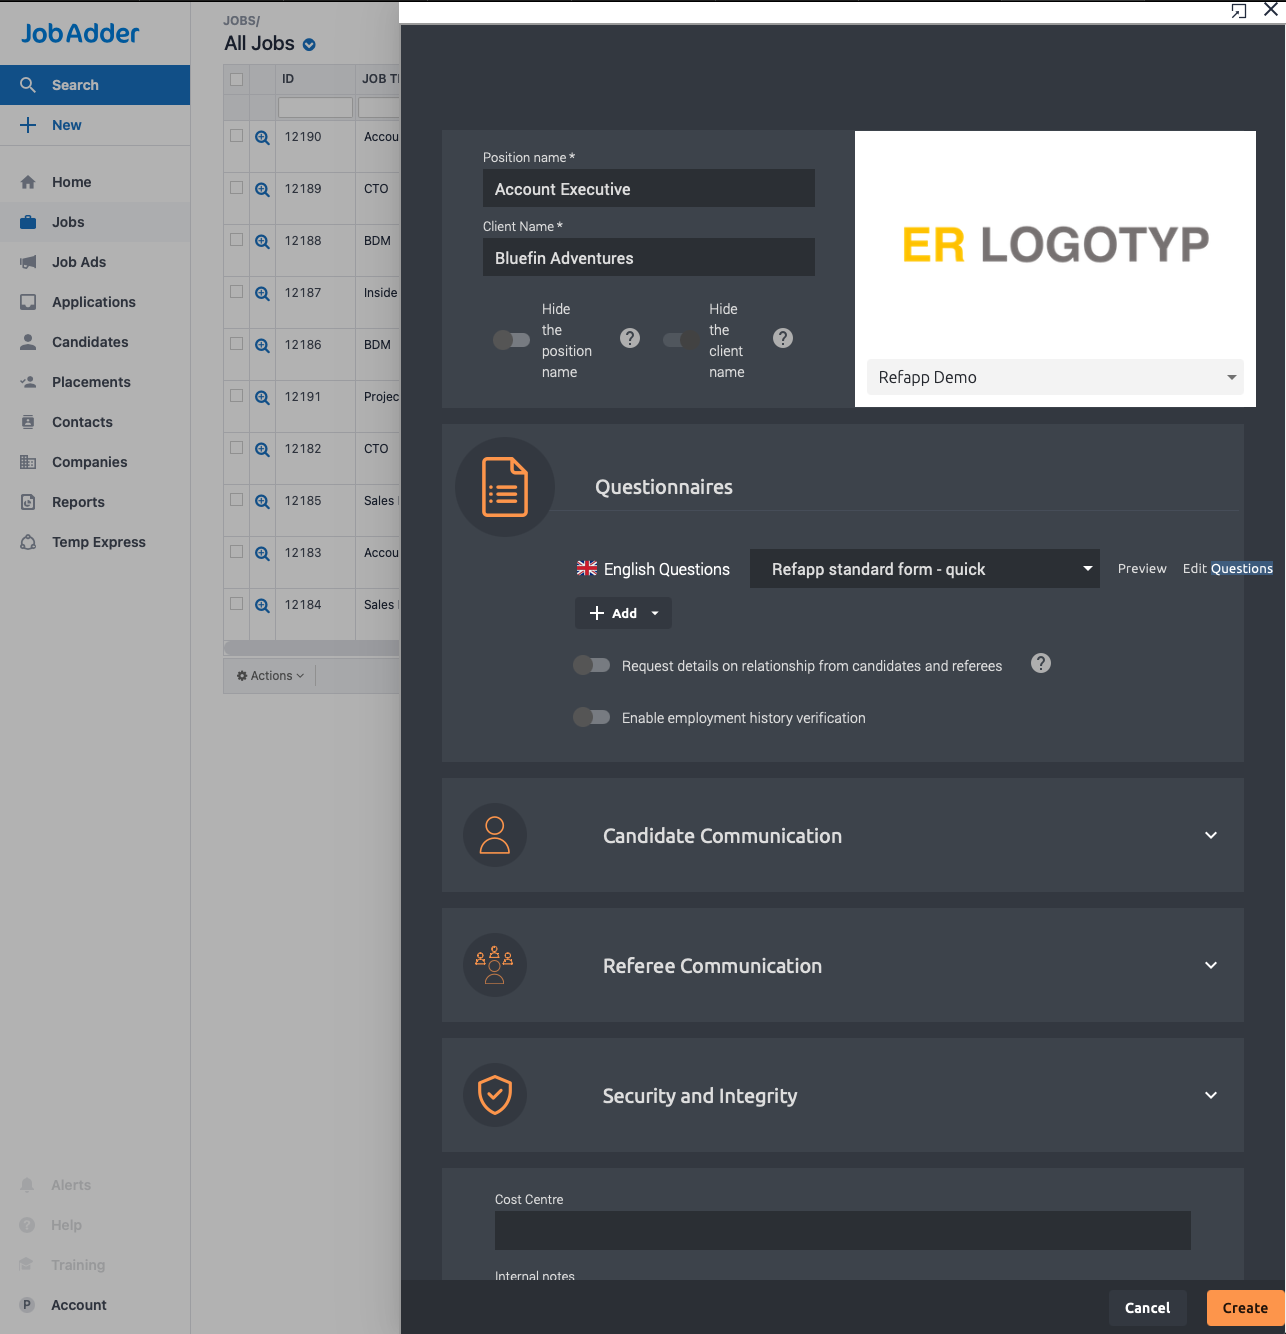
When you select “Refapp – Configure Refapp Project“, a window opens where you configure the Refapp project by selecting a questionnaire and choose from other available options.
Click “Create” (if the project hasn’t already been created) or “Save” (if it has) to store the settings or Cancel to abort and then close the window using the X button in the top right corner.

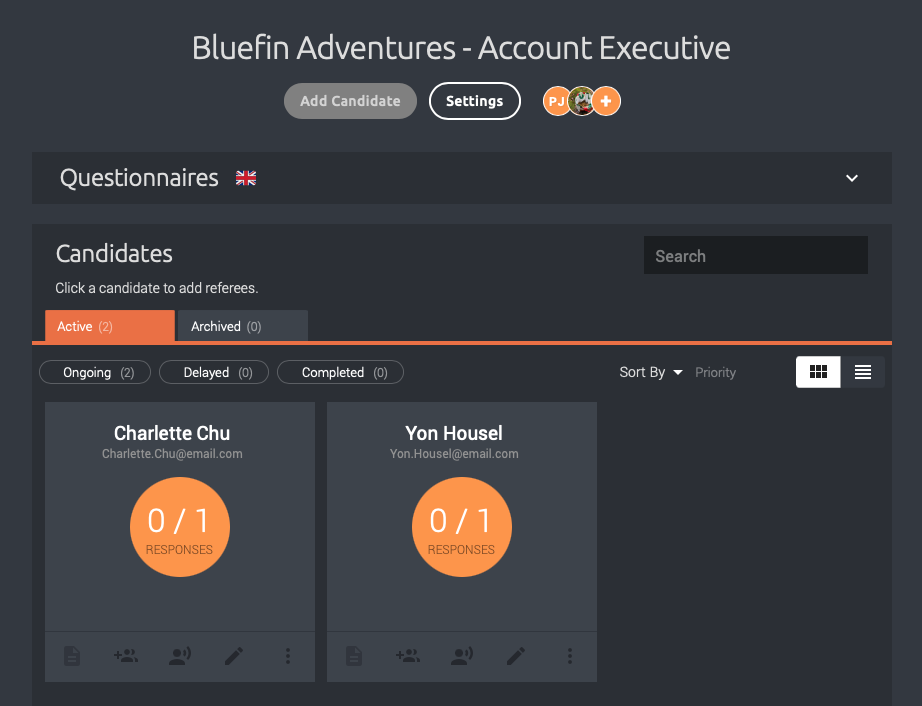
Once this step has been completed, you can start reference checks for any job application(s) for the job using the “Refapp – Start Reference Check“ action.
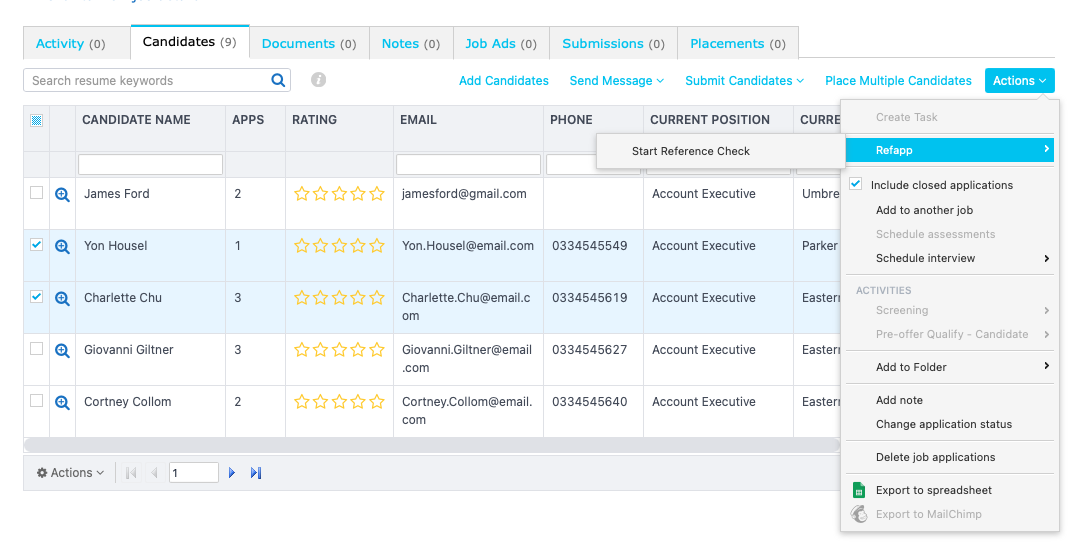
When selected, Refapp adds the candidates to the project.
If you enabled automation for the project, you can expect the Reference Check Report to be completed within a day assuming the candidate and referees are available.
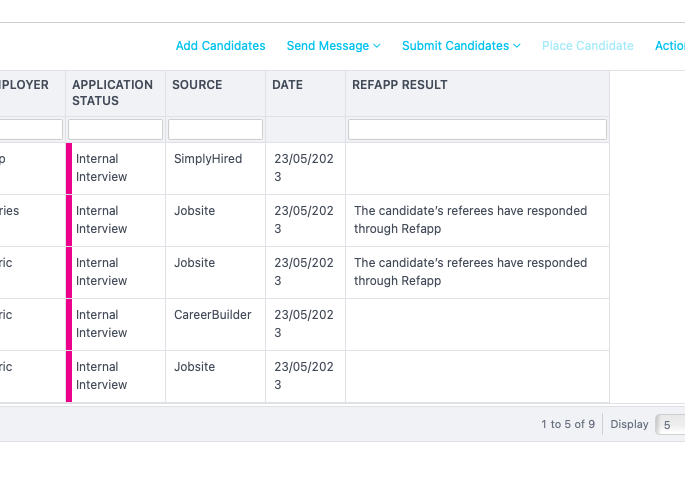
The status of the check and the report are available from the candidate listing in the Job in the “Refapp Result” column (you may need to add that column from the ”Show” menu).
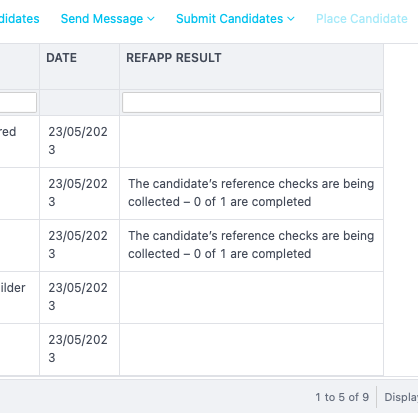
Click on a cell in the “Refapp Result” column to access the Reference Check report.
Reference checks on candidates
When not connected to a job, the candidates will be added to a project in Refapp connected to a project template. The project templates needs to be set up in Refapp as a first step and are template with the settings of the reference check.
Creating project templates in Refapp
Go to the main menu and select "Project templates". Click Add to create a new template.
Give the template a name. This will be visible in Jobadder when starting a reference check on the candidate. The next step is to select which questionnaires to use in your reference check. Once selected, scroll down to the section for communication with candidates and select how you wish to contact the candidates and how many referees you wish to request. For a fully automatic process, make sure that the automation is turned On.

Press "create" when you're done with setting up the project template. Make one template for each position you wish to be able to start reference checks on.
Starting a reference check on a candidate in Jobadder
You can either start the reference check on the candidate straight in the candidate list, or in the candidate's profile. Select "Actions", "Refapp" and then pick the template you wish to use.

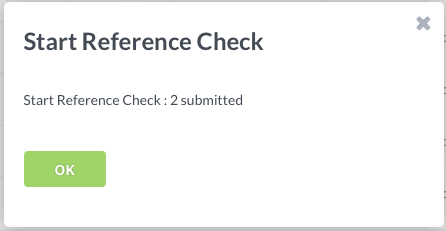
You will then get a confirmation box that the reference check has been submitted.

You can now follow the status of the reference check in the candidate list in Jobadder. You may need to add that column from the ”Show” menu.
.png?width=476&height=447&name=image%20(8).png)