
There are two different configurations you can do, depending on how you want to work with your reference checks.
1. Working with jobs as projects, where you set up the settings for a specific job in Jobadder, and all candidates belong to the same job.
2. Starting the process directly on the candidate in Jobadder, regardless of whether they belong to a job or not.
Follow the guides below for the different configurations.
Reference checks in jobs
Note: You must be a Refapp Administrator to be able to set up the integration. If you don’t have access, you need to contact an administrator for assistance.
Start by navigating to the ”Company Settings” page in Refapp. If you cannot see this option in the navigation menu, you don’t have the required access and need to contact an administrator.
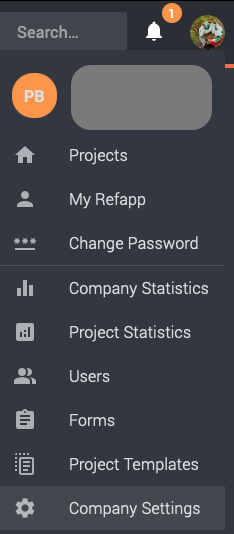
Next click the “Integrations” tab. Scroll down to find the JobAdder icon and click “Connect with JobAdder”.

Click continue in the box that appears without interacting with the toggle for allowing starting reference checks from the candidate list.

You are now taken to JobAdder where you need to log in and accept the integration.
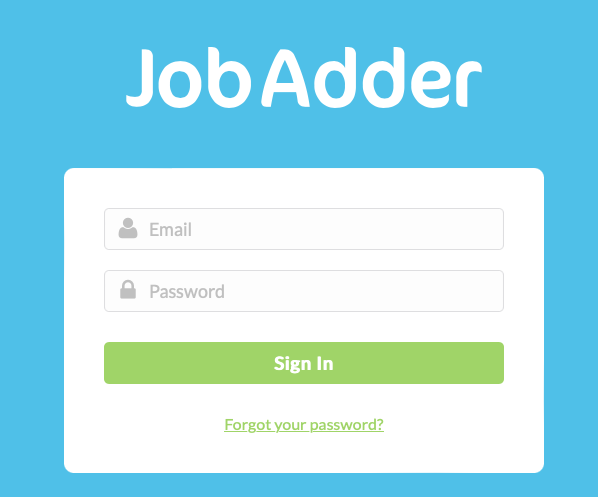
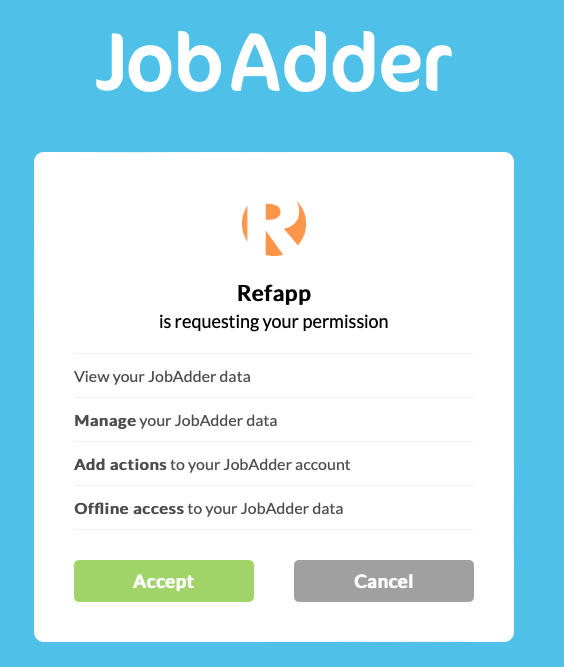
Click “Accept”. You are now taken back to Refapp where the setup is concluded automatically and after a few seconds you will see that the JobAdder integration has been added to your Refapp account.
You can now move on and use Refapp from within JobAdder.
Note: There is a short delay of up to five minutes before the actions added by Refapp are shown in JobAdder.
Reference checks on candidates
Note: You must be a Refapp Administrator to be able to set up the integration. If you don’t have access, you need to contact an administrator for assistance.
Start by navigating to the ”Company Settings” page in Refapp. If you cannot see this option in the navigation menu, you don’t have the required access and need to contact an administrator.
Next click the “Integrations” tab. Scroll down to find the JobAdder icon and click “Connect with JobAdder”.
Select the option "Allow starting reference checks from the candidates list in JobAdder" and click continue.

You are now taken to JobAdder where you need to log in and accept the integration.

Click “Accept”. You are now taken back to Refapp where the setup is concluded automatically and after a few seconds you will see that the JobAdder integration has been added to your Refapp account.
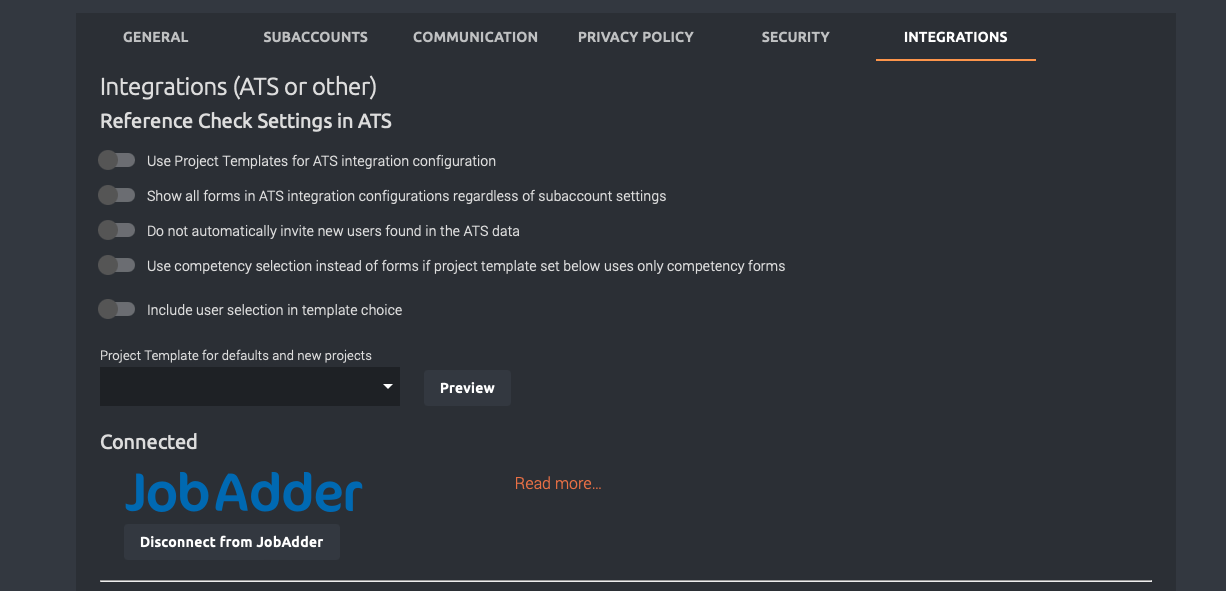
Disconnecting the integration
To disconnect, simply click ”Disconnect from JobAdder" on the Company Settings - Integrations page.